Hi’ya folks! How are you guys doing today?
Recently, have you been working on something that excites you?
Will you tell me about it, friends?
Anyway, here we are with our 7th Day of 100 Days of DevOps (learning and doing what we can to practice it).
And with this, good Kode Kloud people has given us a task to do the following:
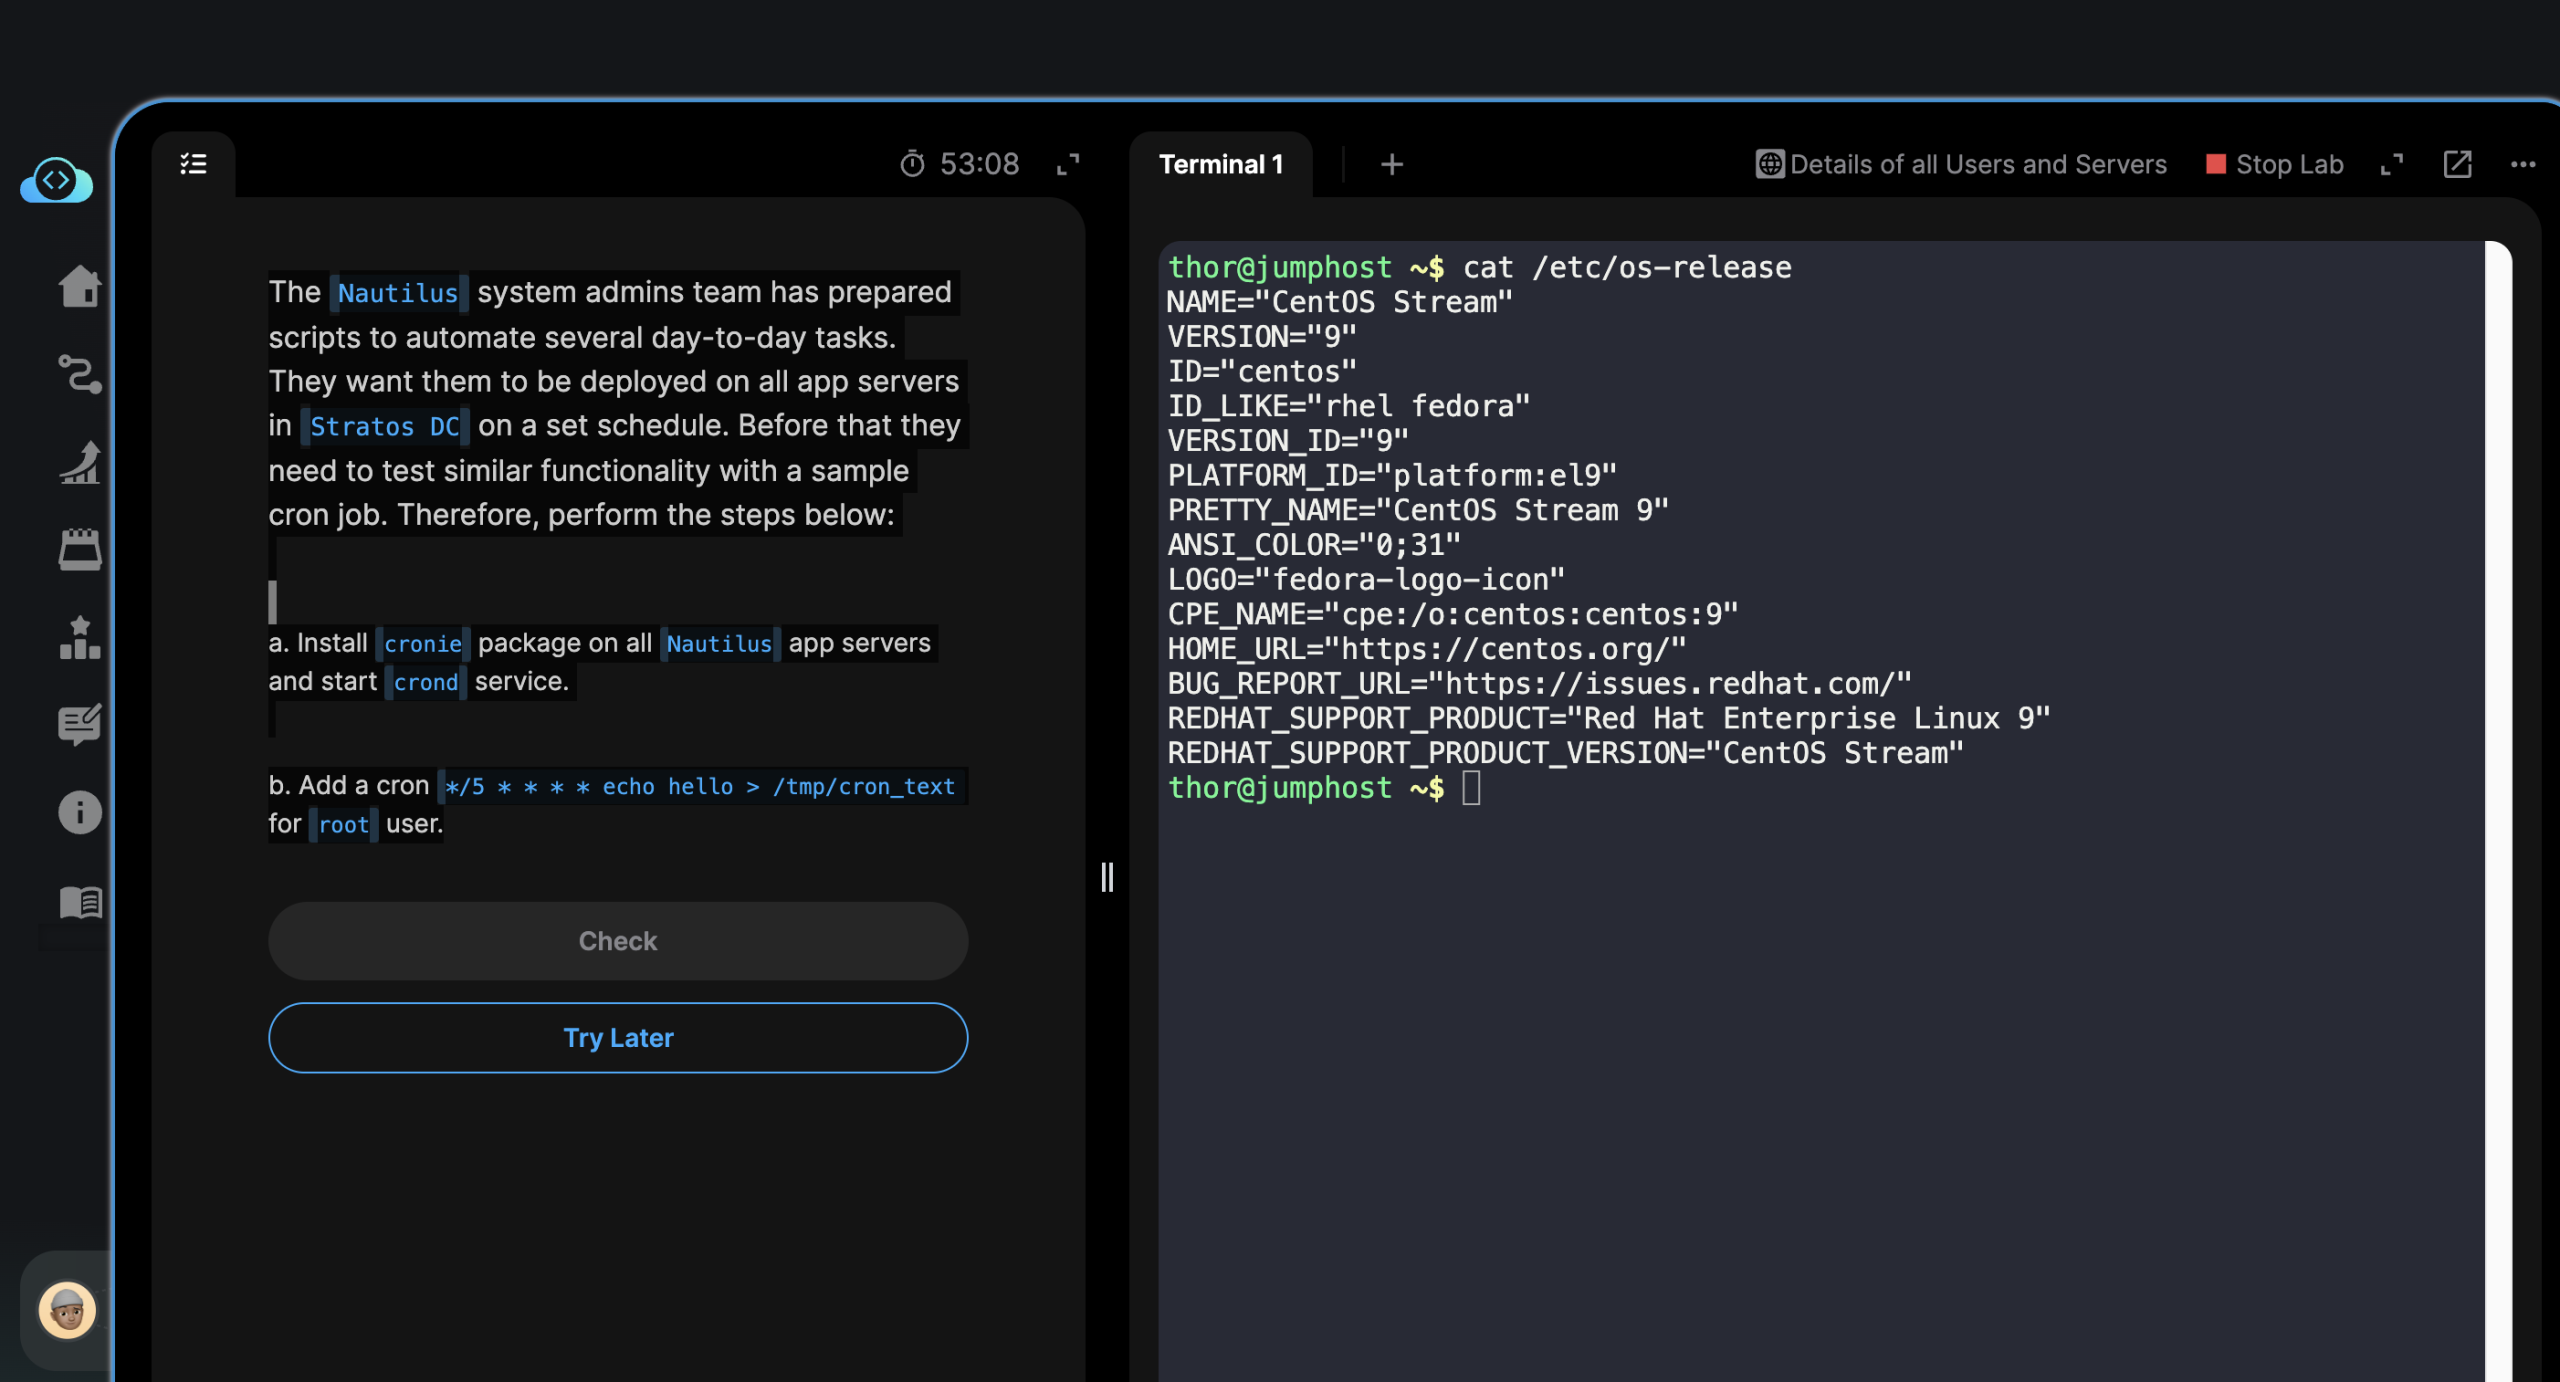
The
Nautilussystem admins team has prepared scripts to automate several day-to-day tasks. They want them to be deployed on all app servers inStratos DCon a set schedule. Before that they need to test similar functionality with a sample cron job. Therefore, perform the steps below:a. Install
croniepackage on allNautilusapp servers and startcrondservice.b. Add a cron
*/5 * * * * echo hello > /tmp/cron_textforrootuser.
Okay!
Now, we have our task.
Let’s do what we can, alright?
Friends, we’ll need to do it from a Linux instance (I believe, a CentOS one, now I could be wrong here).

First, for good measure we’ll need to understand what Linux instance we have before us. Sometimes, different distributions have varying nuances.

With this Linux command, we can ask the system to display or print OS details.
cat /etc/os-releaseAccording to this, we’re on a CentOS 9 instance. Okay, good.
Next, our task tells us to install a utility software called “cronie” unto all our application servers.
Namely, servers with hostnames:
- stapp01 (with user, tony)
- stapp02 (with user, steve)
- stapp03 (with user, banner).
Here’s our Kode Kloud Engineer infrastructure details – for added information about the server machines we need to work on. For our task at hand.

We’ll need these set of Linux commands for CentOS. To install “cronie” and start the daemon service for it to run cron jobs.
sudo dnf install cronie -yThis tells Linux to install cronie through a specific CentOS package manager called dnf.
sudo systemctl start crondAnd this command, invokes a system processes manager called systemctl to start our cron jobs process. A cron daemon service called crond.
sudo systemctl enable crondThis tells Linux to set crond as one of the processes that will self-initialize when you restart your Linux instance. Meaning, it will run during start up after a restart.
sudo systemctl status crondFinally, this invokes the system manager to tell us the present status of the cron job service called crond.
After every 5 minutes, the cron job will write a line of text “hello” on to a text file at the /tmp/ directory or folder. It will create a file, if it doesn’t exist yet.
And after checking it. We have this.

We have the text line displaying “hello”.
And folks, you can read a text file’s content in Linux with the “cat” command. It means, concatenate, but for me, it helps to remember this Linux command with linking it with our lovable and very cute house cats. 😀 Meow-za! ^_^ Haha!
Alright, folks!
Now, we have to create our cron job.
We can do that with the following Linux commands.
sudo crontab -u root -eThis lets us create cron job instructions and a schedule for that task. With the current user we’re logged on as (in this case, root).
*/5 * * * * echo hello > /tmp/cron_textWe need to enter this specific line inside the crontab text or configuration file.
If it opened with a text editor called “vi” or “vim”. You’ll need to press the key “i” first before you can start typing some text.
Then, when you’re done. Save your changes and exit the text editor program with pressing “esc” then “wq”.
Doing this, will save (or write) your changes to memory and then the program will quit.
Finally, after 5 minutes has passed. You can check if the cron job has done its job. With a “hello” text getting written. And file called “cron_text” being created at the folder or directory at /tmp/.
cat /tmp/cron_textThis Linux command will allow you to check your file and its text inside.
Remember to wait for at least 5 mins after you’ve created and saved a cron job schedule.

That’s it for now – good job!
Well done!
Leave a Reply