Hey-yo!
How are you folks doing tonight?
Greetings, from a small space somewhere to the east.
Sorry folks, I was on battery-saving mode today. 😅 Needed some charging up of 🪫⚡ batteries.
Friends, it’s night-time over here. I recalled this web journal, and I need to write something here. For one, as we’re doing some job-hunting, it is for good measure (and also to up our chance of getting hired for work) that we put up this small space online. A web portfolio of thingamajig.
With this, we have this task from our good friends at Kode Kloud.
The system admins team of
xFusionCorp Industriesneeds to deploy a new application onApp Server 1inStratos Datacenter. They have some pre-requites to get ready that server for application deployment. Prepare the server as per requirements shared below:1. Install and configure
nginxonApp Server 1.2. On
App Server 1there is a self signed SSL certificate and key present at location/tmp/nautilus.crtand/tmp/nautilus.key. Move them to some appropriate location and deploy the same in Nginx.3. Create an
index.htmlfile with contentWelcome!under Nginx document root.4. For final testing try to access the
App Server 1link (either hostname or IP) fromjump hostusing curl command. For examplecurl -Ik https://<app-server-ip>/.

My brothers and sisters, sorry for this one – but I have to step somewhere else for tonight. Likely for me to go to sleep soon.
I’ll return here tomorrow morning – well, hopefully – to do our attempt for this task for Day 15 of 100 Days of DevOps.
Alright, folks?
Thanks, that’s mostly it for now. Sorry my friends, not much for tonight.
See you folks tomorrow.
Ciao!
Restart: Task – 17 September, 2025
Folks, how are you doing today?
Come, let’s get started with our task from our friends at Kode Kloud.
We have this following our task reload. Our web app server becomes “stapp03” (web app server 03) – earlier from “stapp01” (web app server 01).

First, we SSH into web app server 03.
ssh banner@stapp03
After SSH connection establishes, we enter our server password.
Folks, the following is what we call an infrastructure details table. You’ll find pertinent information about our server machines or instances from here. Like passwords, and server IP addresses.

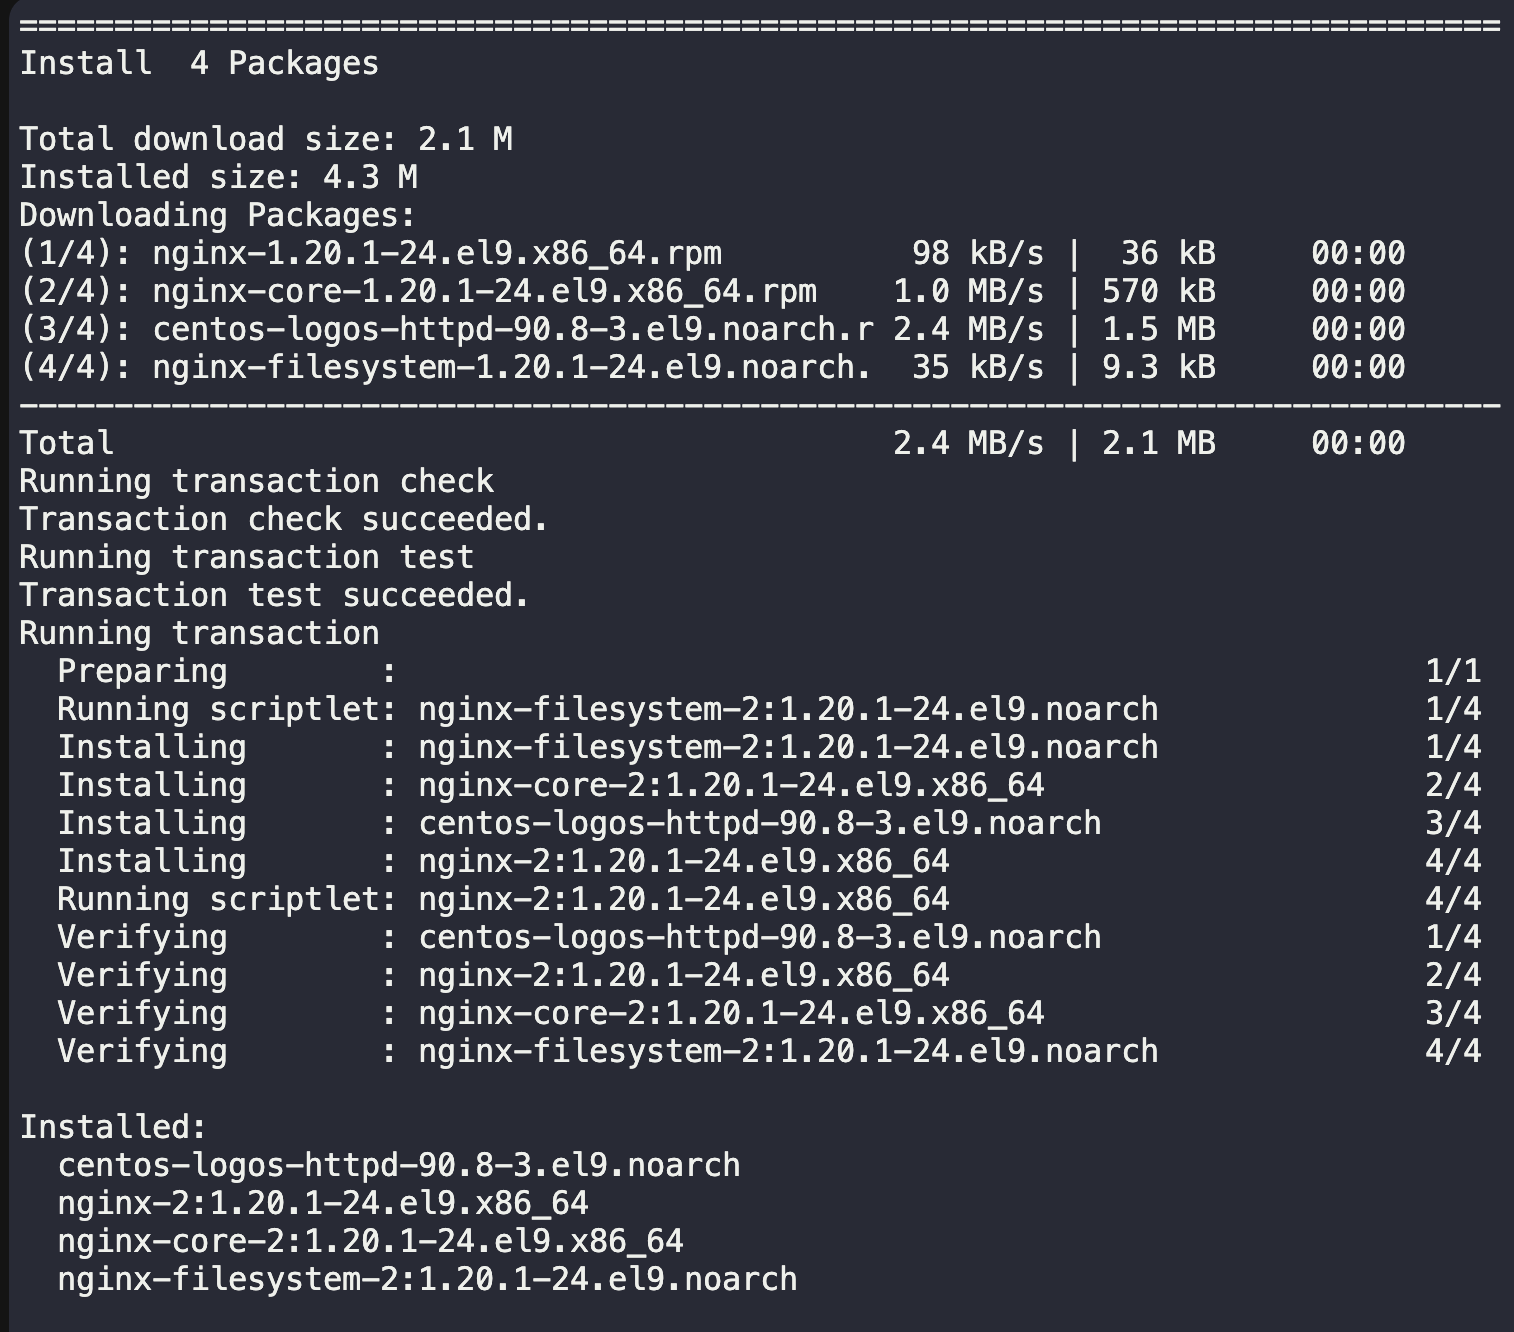
Okay friends, once we’re in. We need to install the necessary software, in this case, “Nginx”, one of the versatile web servers available for free.
Install Nginx
sudo yum install nginx -yAfter installation, we start and enable the Nginx service.

sudo systemctl start nginx && sudo systemctl enable nginx
Configure Nginx server
sudo mkdir /etc/nginx/ssl && chmod u=rw,g=,o= /tmp/nautilus.key [or, chmod 600 /tmp/nautilus.key] &&
sudo mv /tmp/nautilus.crt /etc/nginx/ssl/ &&
sudo mv /tmp/nautilus.key /etc/nginx/ssl/
Important note:
Folks, sorry, I understand the Linux command above looks like “spaghetti code”. 🍝
Since I need to catch up on some needed book read before I go to sleep later on.
Let’s revisit this one later, and unpack the Linux commands above (it’s a chained series of Linux commands, not a singular one, but a compounded set of commands)
My brothers and sisters, this set of Linux commands moves the necessary things (a certificate, and a key) to the right directory, or Nginx folders.
Additionally, the modify permissions command (chmod) helps keep our encryption key safer.
Next, we must create a configuration file – without modifying the defaults.
sudo touch /etc/nginx/conf.d/nautilus.conf && sudo vi /etc/nginx/conf.d/nautilus.confWe’ll need to add something from our newly created Nginx configuration file.
   server {
       listen       443 ssl http2;
       listen       [::]:443 ssl http2;
       server_name  _;
       root         /usr/share/nginx/html;

       ssl_certificate "/etc/nginx/ssl/nautilus.crt";
       ssl_certificate_key "/etc/nginx/ssl/nautilus.key";

       index index.html index.htm;

       location / {
          our_index_pages $uri $uri/ =404;
       }

   }
We check if our configuration file is free from syntax, or format errors with the following Linux command.
sudo nginx -tAnd then, if our parsing our configuration file outputs an OK message. It means our configuration file is free from errors and so forth.
We will need to restart our Nginx service.

Create our Index file
We do so with the following, my friends.
echo "Welcome!" | sudo tee /usr/share/nginx/html/index.htmlFolks, this Linux command asks Linux to create an HTML file (named: index.html) with a text content saying “Welcome!”. At this directory, or Nginx folder path (/usr/share/nginx/html/).
Team, we must ensure that our index.html file doesn’t have any other context – other than the text words saying “Welcome!”.
sudo vi /usr/share/nginx/html/index.htmlKindly remove all other possibly pre-existing content from the file. And retain only the words, “Welcome!” at the starting line.
We do some needed tests to check our Nginx Implementation
Folks, exiting our web app server. And returning to our jump-host, we must do the following:
curl -Ik https://stapp03Or, this one should also work just fine, my friends.
curl -Ik https://172.16.238.12/This fetches HTTP data, or page from a secure SSL connectivity. I believe, most website pages nowadays do the same when you browse the web.
If this Linux command is able to successfully fetch the page for us, then we’ve done our task, my dear friends.

For context, you might see that the web app server above (picture) is no longer “stapp03” but “stapp01”.
Earlier, I ran out of time. And had to restart our task for another time. Resulting in the system changing our task server instance, due to a possible randomizer (I believe, it’s built-in with their automation).
Okay, that’s it for now, my dear friends.

Well done, folks! 👏
Good job, team! 😄
See you all next time, alright friends?
And, one more thing – next time – I’ll publish necessary improvements from our previous posts. One at a time, we’ll gradually do needed changes to our past posts. This, to reach desired improvements. Okay, folks?
God bless you.
Peace be with you all. ☮️
Leave a Reply